Participants
What is a participant?
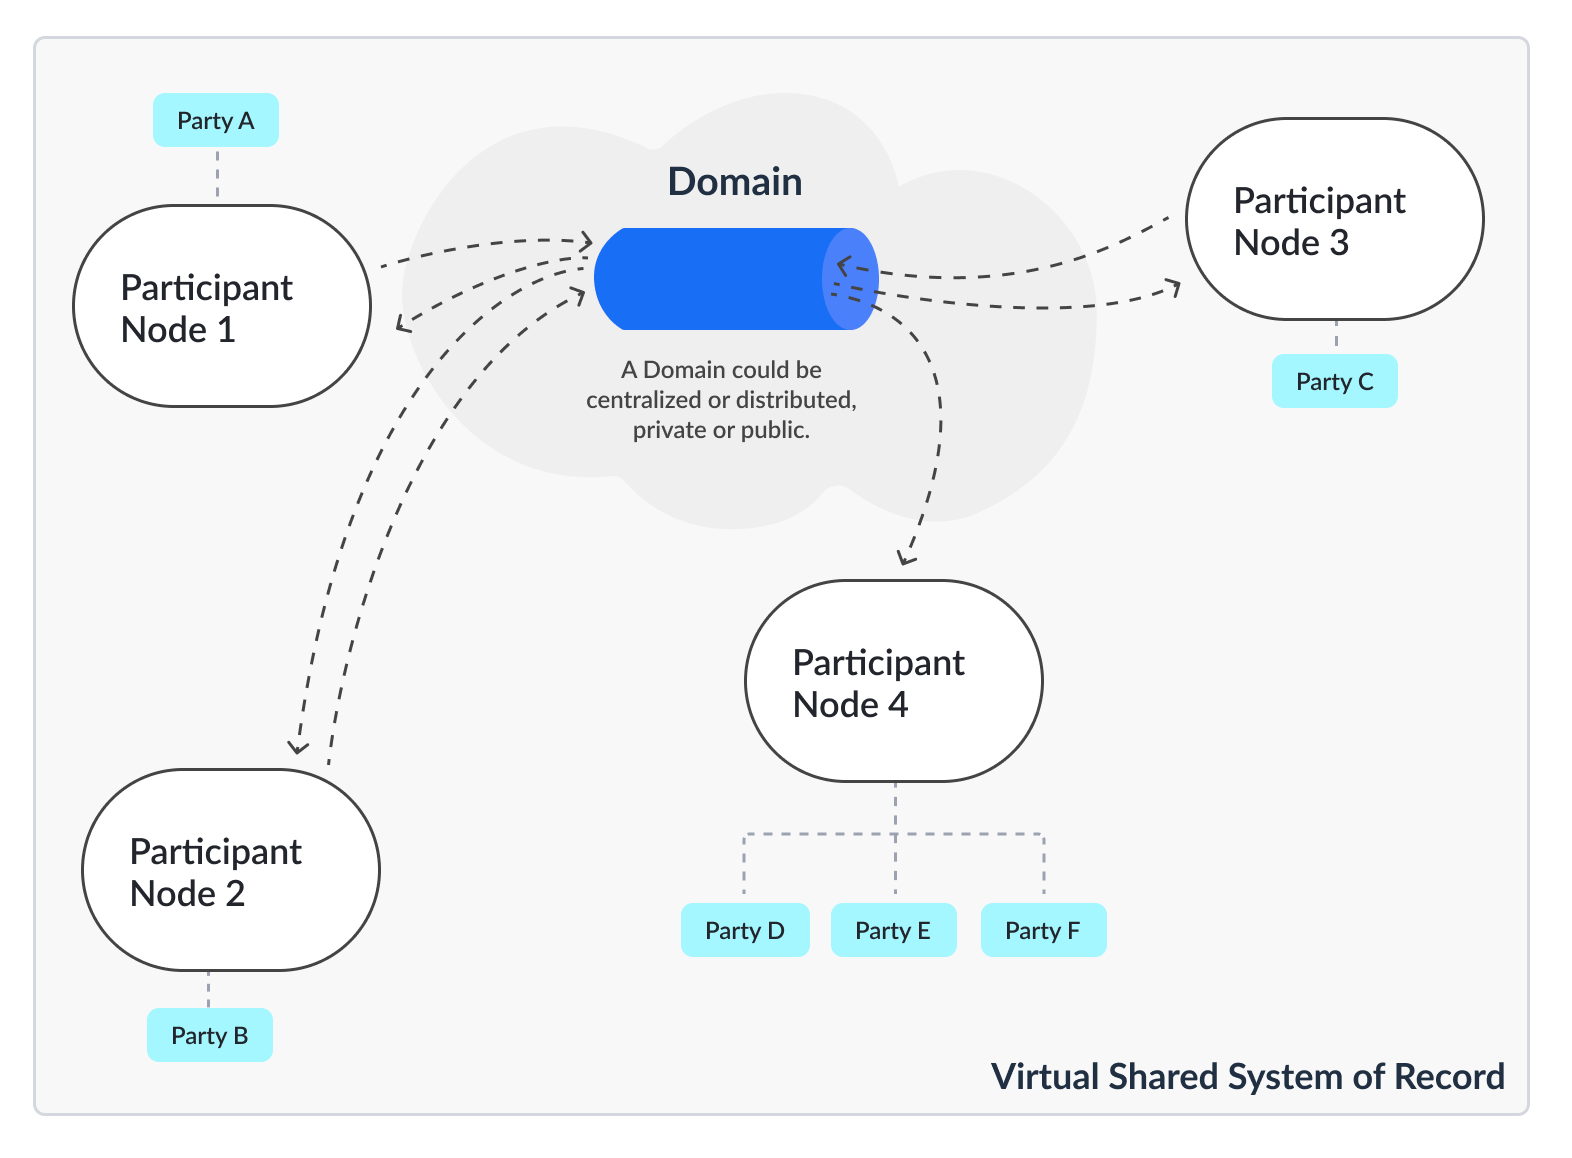
In the execution model for Canton, each party of the application is hosted on a Participant Node (Figure 1).
The Participant Node stores the party’s unique projection and history of the shared system of record. Participant Nodes synchronize by running a consensus protocol (the Canton Protocol) between them. The protocol is executed by sending encrypted messages through Domains, which route messages and offer guaranteed delivery and order consistency. Domains are also units of access control and availability, meaning an application can be additionally protected from interference by other applications or malicious actors by synchronizing it only through a given domain, and restricting which participants can connect to it.
For more information about Domains please check Domains
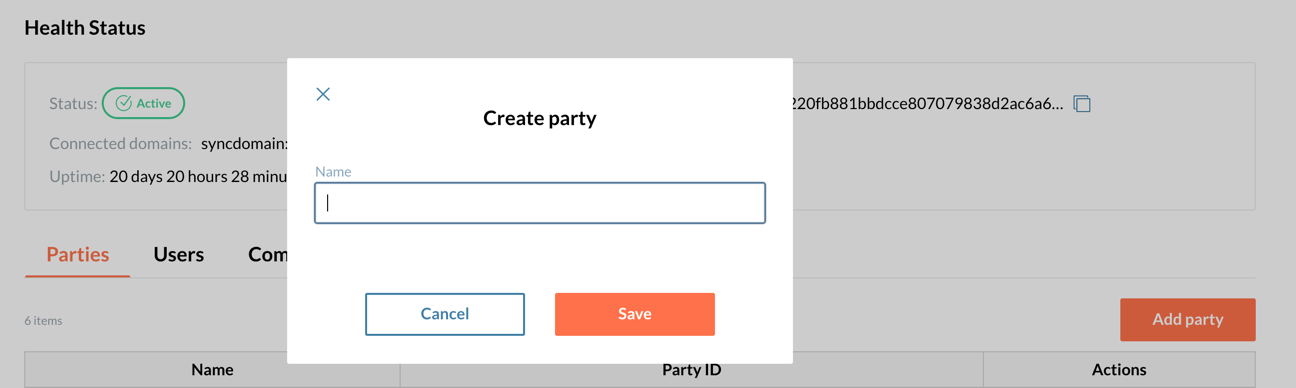
How do I create a participant?
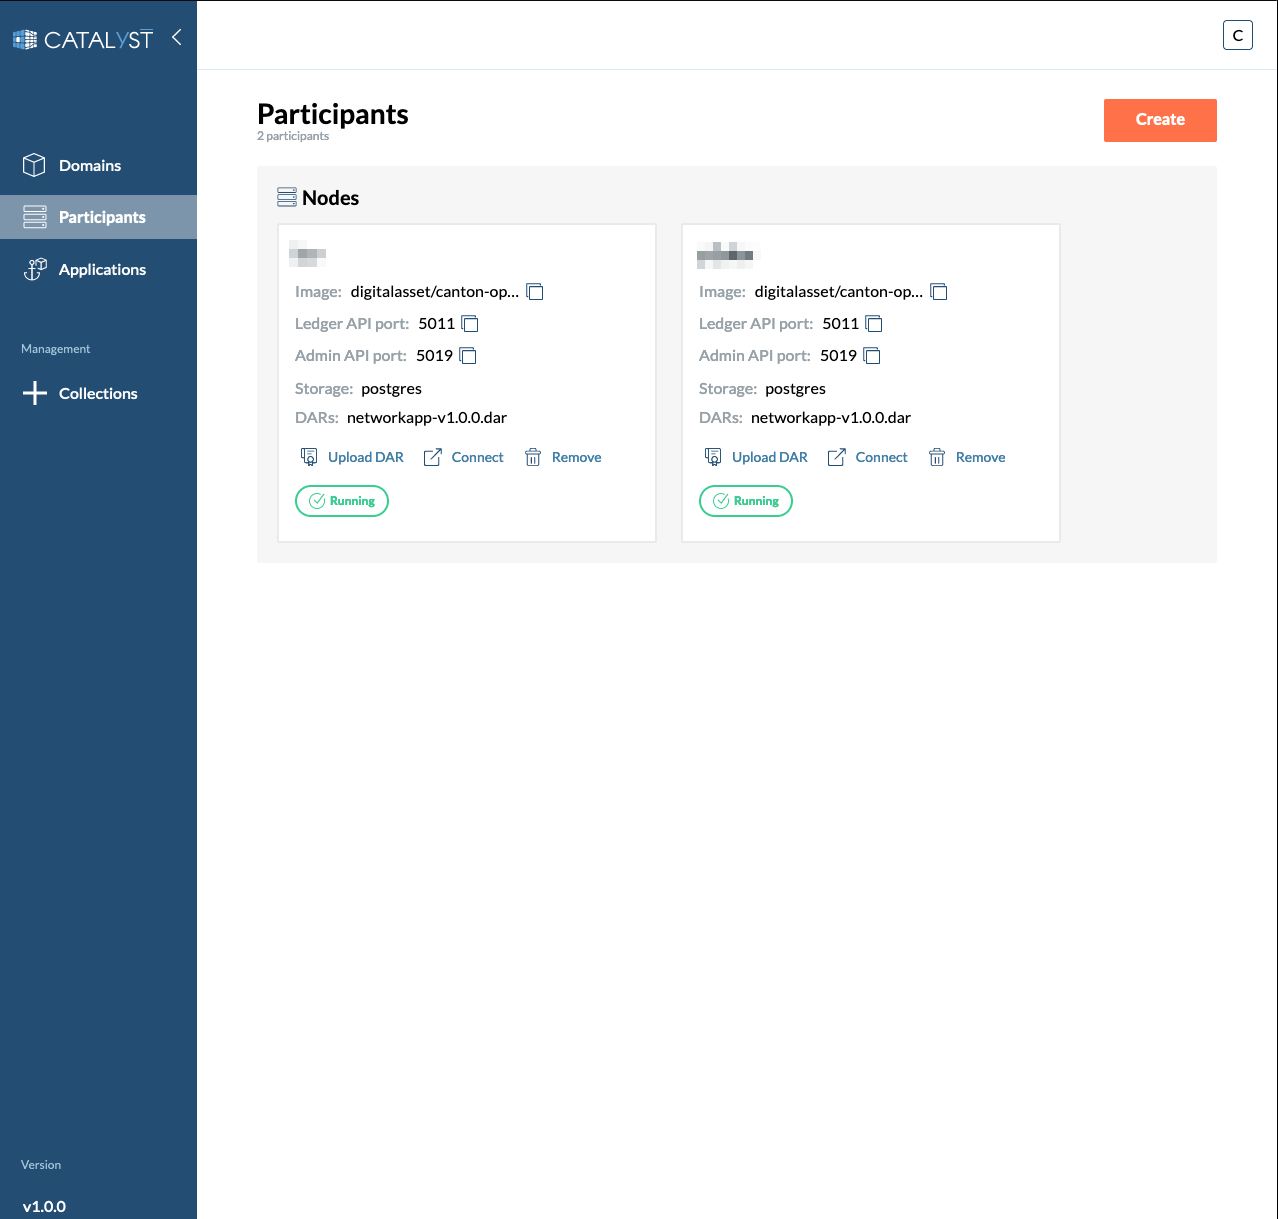
To create a Particpant, go to the Participants tab and click on the “Create” button to open a side window.
1- Provide a Participant name (required).
2- Fill in the main settings
| Using a predefined image is recommended for compatibility issues. However, you can select your image if needed. If you want to use an image from a private repository you should specify an imagePullSecret. You can create an imagePullSecret in your Kubernetes cluster and reference it by name here. |
-
Choose participant image
-
Choose DAR files to upload
-
Enable Navigator if required
-
Enable Daemon if required
-
Resources allocation:
-
Requested CPU. Guaranteed CPU resources that will be allocated.
-
CPU limit. Maximum CPU resources that will be allocated.
-
Requested memory (MB). Guaranteed amount of RAM that will be allocated.
-
Memory limit (MB). The maximum amount of RAM that can be allocated.
-
Storage size.
-
-
You can add custom environment variables if needed.
3- Fill in Topology
-
Enable Embedded Topology if needed
-
Topology
-
Choose between using the form or raw view topology
-
Choose Admin Port
-
Choose Public port
-
Choose Storage type
-
Memory
-
PostgreSQL
-
Choose User
-
Choose Password
-
Choose Storage size
-
-
External
-
Choose User
-
Choose Password
-
Choose Hostname
-
Choose Port
-
-
-
Enable Authorization Service if needed
-
| When selecting PostgreSQL as storage type, a postgres database will be provisioned in the cluster. When selecting external, a database is expected to be hosted at given hostname and port with the same name as the participant and a user with given credentials. |
4- Bootstrap
-
Provide bootstrap commands if needed
How do I connect a participant to a domain?
After the participant is created, it can be connected to a domain by clicking the "Connect to domain" button. This will open a side window.
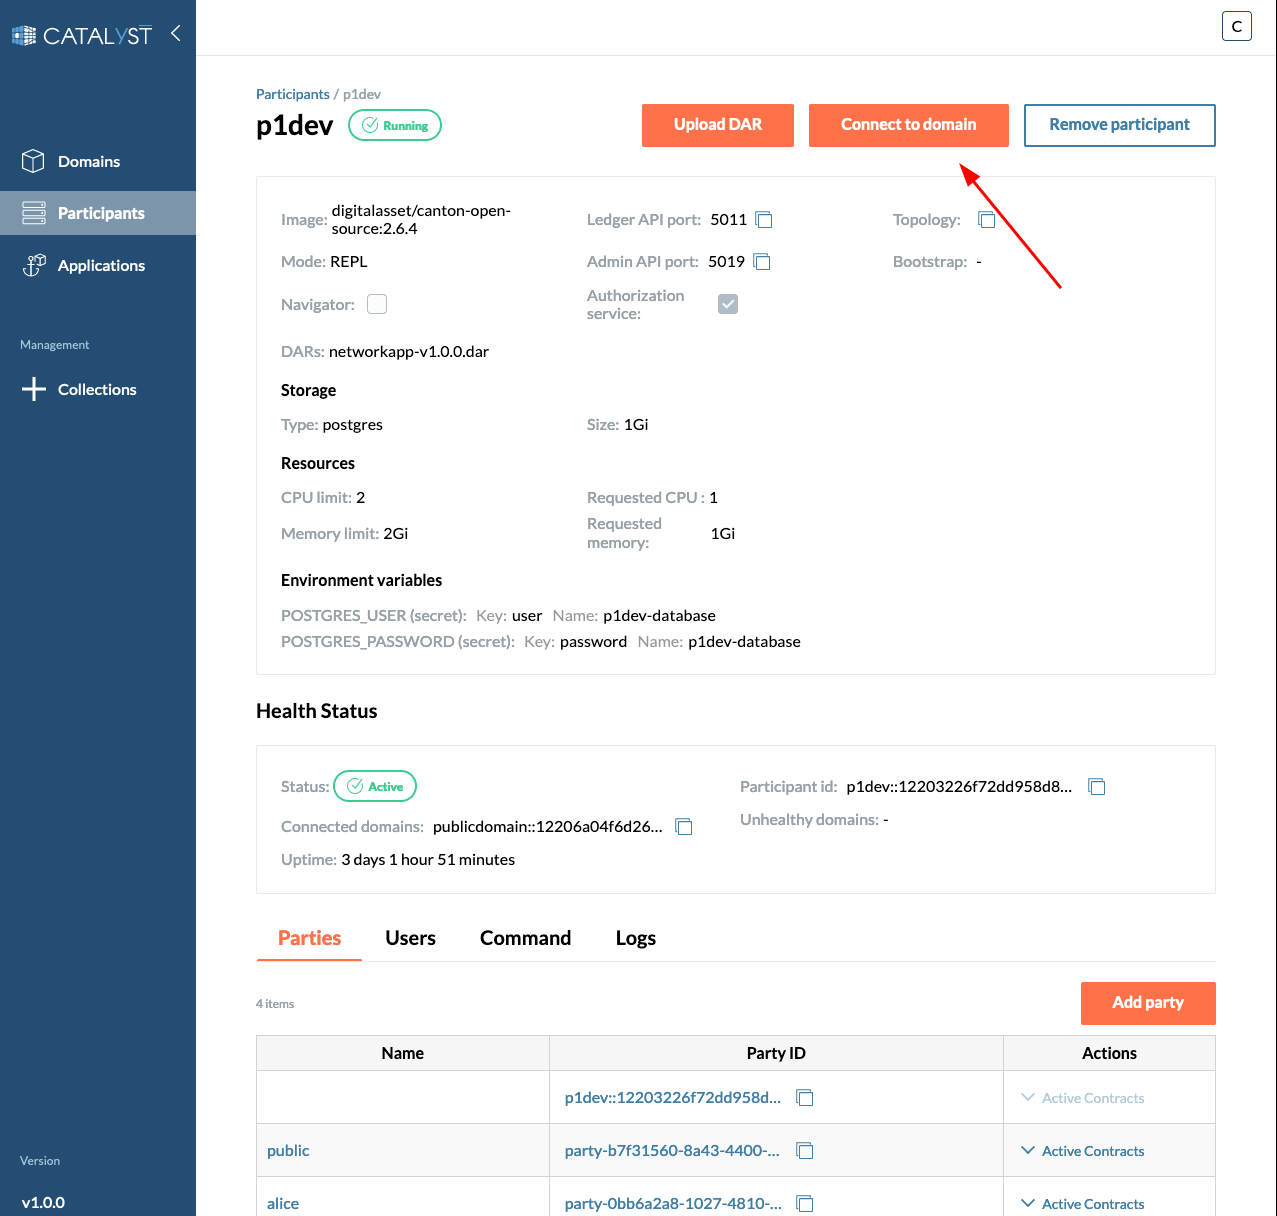
| Select either a domain that is available in this Catalyst Canton console, or connect to any other external domain by providing the full domain URL. |
How do I upload DAR files to a participant?
After the participant is created, DAR files can be uploaded by clicking the "Upload DAR" button. This will open a side window.
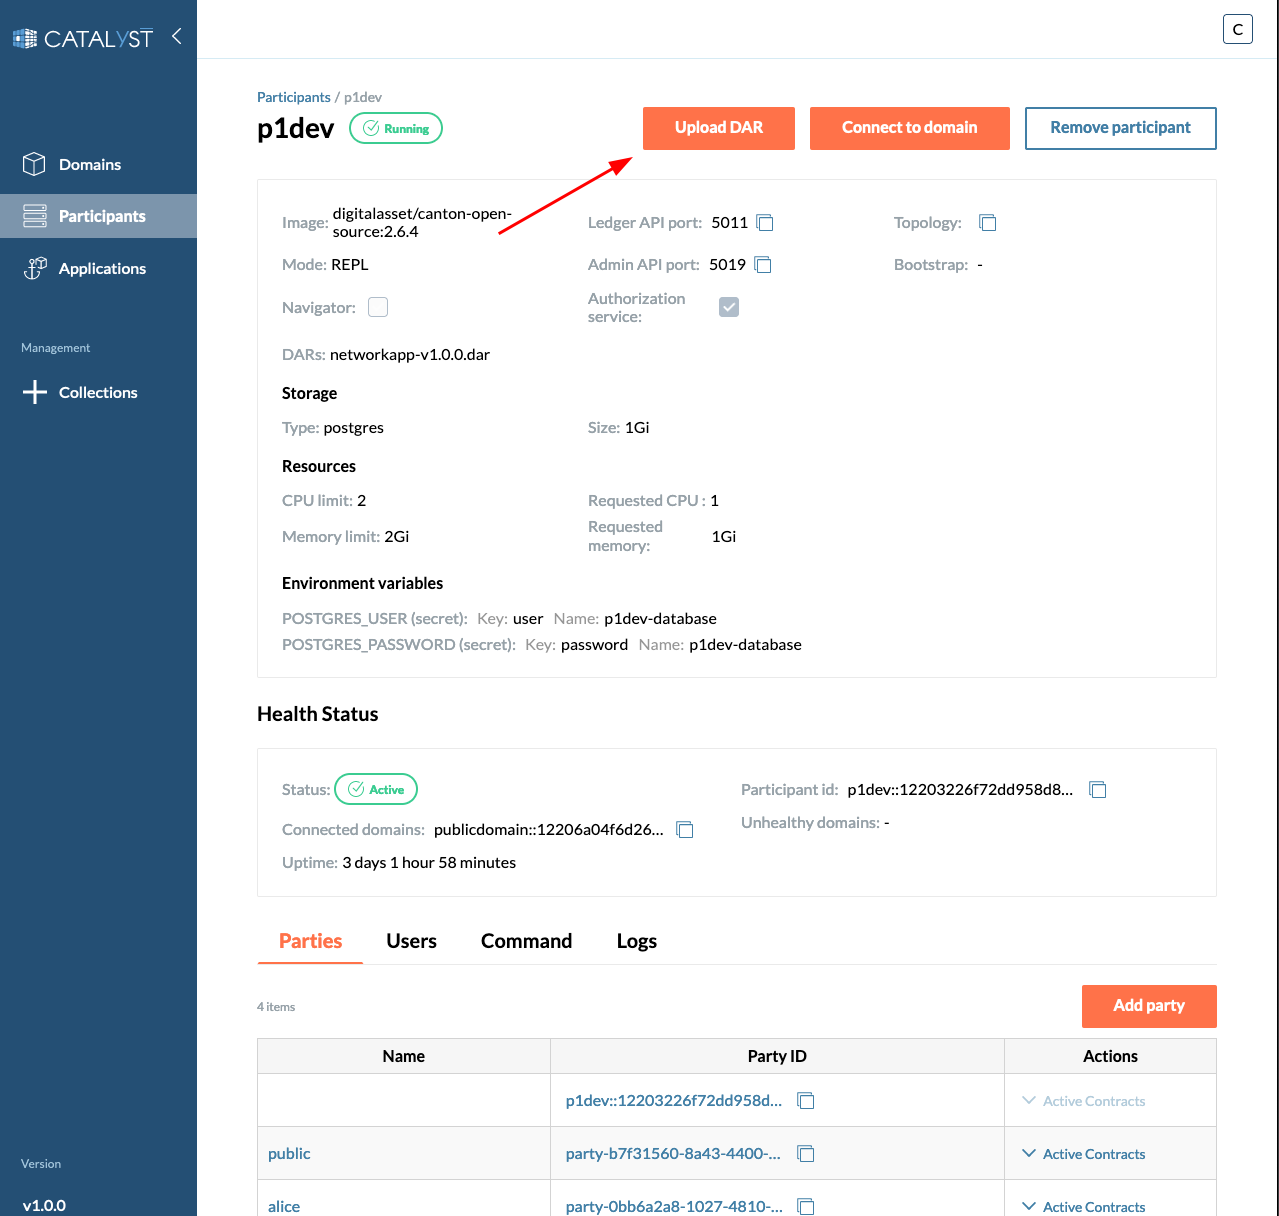
| Select one or multiple DAR files to upload to the participant. DAR files can be added to the console through the Collections tab. |
User Management
Catalyst Blockchain Manager allows to manage the user accounts that interact as part of a Party.
Create a User
In the Participants menu, under the Users section, click on Create user, select the Primary Party this new user belongs to.
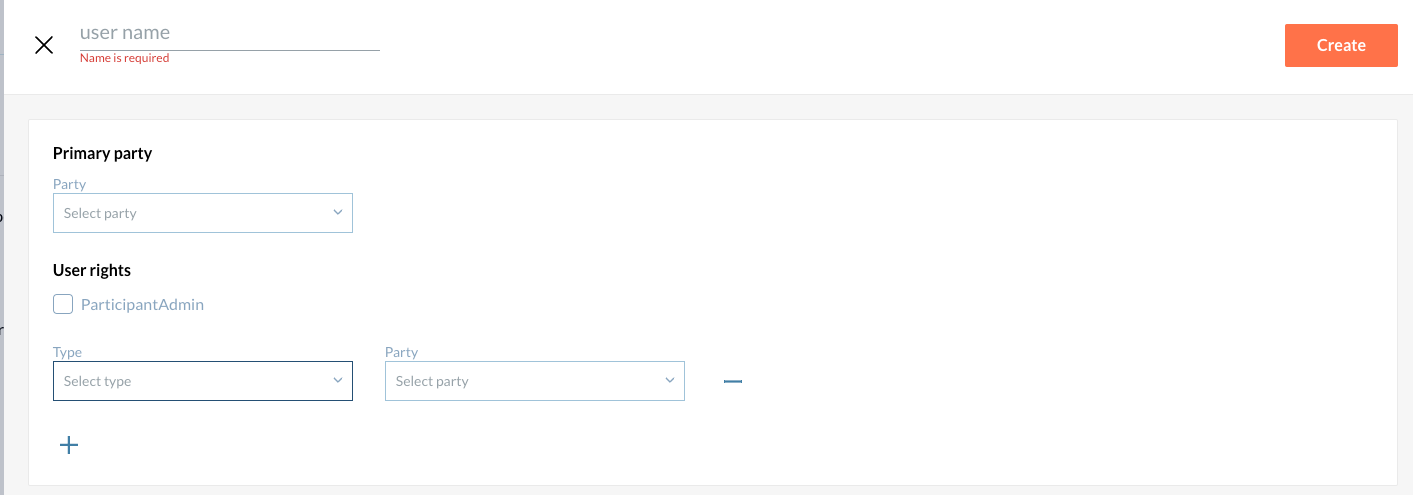
In case the new User has admin rights select the checkbox "ParticipantAdmin".
Instead, if the user is not expected to have full admin rights, select the type of right that user has for which Party:
-
CanActAs - The User can interact as the Party selected
-
CanReadAs - The User is granted with Read rights but can not interact on behalf of the Party
Manage Users
The rights of existing users can be managed to grant additional rights, revoke existing rights and even remove the user.
To manage individual user rights, Navigate to the Participants menu, under the Users section, and select the action to be performed on the right menu column as shown in the image below:
